Say Hello

Purple Kale Kitchenworks
250 44th Street
Brooklyn, NY 11232

(917) 297-9709

info@purplekale.com


123 Street Avenue, City Town, 99999

(123) 555-6789

email@address.com


You can set your address, phone number, email and site description in the settings tab.
Link to read me page with more information.

Other Writings and Recipes

Roasted Squash Slices with Their Seeds

Ronna Welsh

You can roast squash in thin, unpeeled, unseeded slices for a playful, meaty, versatile “chip.”
Consider adding toasted, seed-full slices to crisp salad greens. I also love this squash in dressed with Garlic Yogurt Sauce and Pickled Parsley. You’ll find these two recipes on pages 380 and 66 of The Nimble Cook. Check out my advice for Martha Stewart on toasting squash seeds.

No two squash are the same size. To ensure you’re seasoning them sufficiently, use about 1 teaspoon salt for every pound of squash.

Makes 4 cups, enough for 4 servings

1 large butternut squash (about 2 pounds), scrubbed
Excellent olive oil
2 teaspoons coarse kosher salt

Preheat the oven to 350ºF. Line two baking sheets with parchment paper. Trim each end of the squash slightly. Cut in half crosswise, separating the bulbous seed section from the neck of the squash. Cut each in half again, lengthwise this time. Place the flat side of each piece down on the cutting board. With a sharp, heavy knife, cut crosswise into half moons no more than ¼ inch thick. You will cut through the seed cavity, keeping the seeds tethered to the flesh. (You can cut the squash and store it raw, covered with a damp paper towel in a covered container in the refrigerator for up to 5 days.)

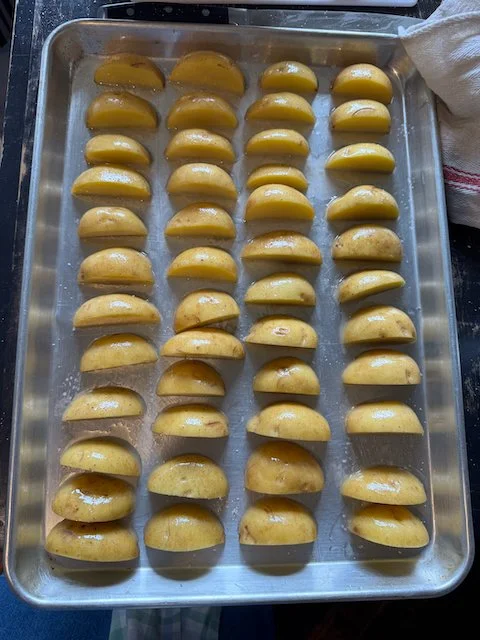
Use either a pastry brush to lightly paint each side of each slice of squash with olive oil, or your hands, taking care not to push out any seeds. Season evenly with salt and arrange on the baking sheets.

Roast the squash for 15 minutes. The pieces should be tender and bright orange. Raise the oven temperature to 425ºF and roast until the squash slices begin to brown, 7 to 10 minutes more. Use a wide spatula to carefully flip each slice. Roast until the slices appear slightly wrinkled and dry, another 5 to 7 minutes. Some pieces will look plumper than others.

The squash slices will keep for up to 2 days in the refrigerator. Stored cold, the seeds will get progressively chewier, but they will re-crisp if you heat the squash slices in a preheated 300ºF oven for 10 minutes.

Otherwise, Trash: Apple Peel Crisps

Ronna Welsh

One apple pie or a batch of apple sauce yields enough peels worth crisping. Peel your apples in long strips, from the stem to the butt. Place the strips in a small bowl and toss very lightly with olive oil, then season lightly with salt and allspice–substitute cinnamon, if you want. Spread the peels out in a single layer on a parchment-lined baking sheet.

You can dry the peels in one of two ways:

1) Place in a 325 F oven for about 20 minutes, tossing the peels halfway, then again every five minutes until they begin to curl and are mostly dry. If they begin to brown too quickly, turn the oven off and let them sit in the residual heat until they dry out completely.

2) For gas ovens only: Place the tray of peels on the bottom rack of the oven, with the oven turned off. Let the peels sit overnight to dry out.

Store dried peels in an airtight container or plastic bag at room temperature.

Chuck the Veg Broth: A Bright Stock for Spring

Ronna Welsh

Of all the packaged, shelf-stable broths, vegetable is the worst. Orange-colored with a tinny smell, this stock is hardly suited to carrot soup, and definitely wrong for the green stalks and leaves of spring.

But unless you want to forego soups for the season, and miss opportunities to make light, vibrant sauces, you'll want to have a stock that extends the flavors of what currently grows from the ground.

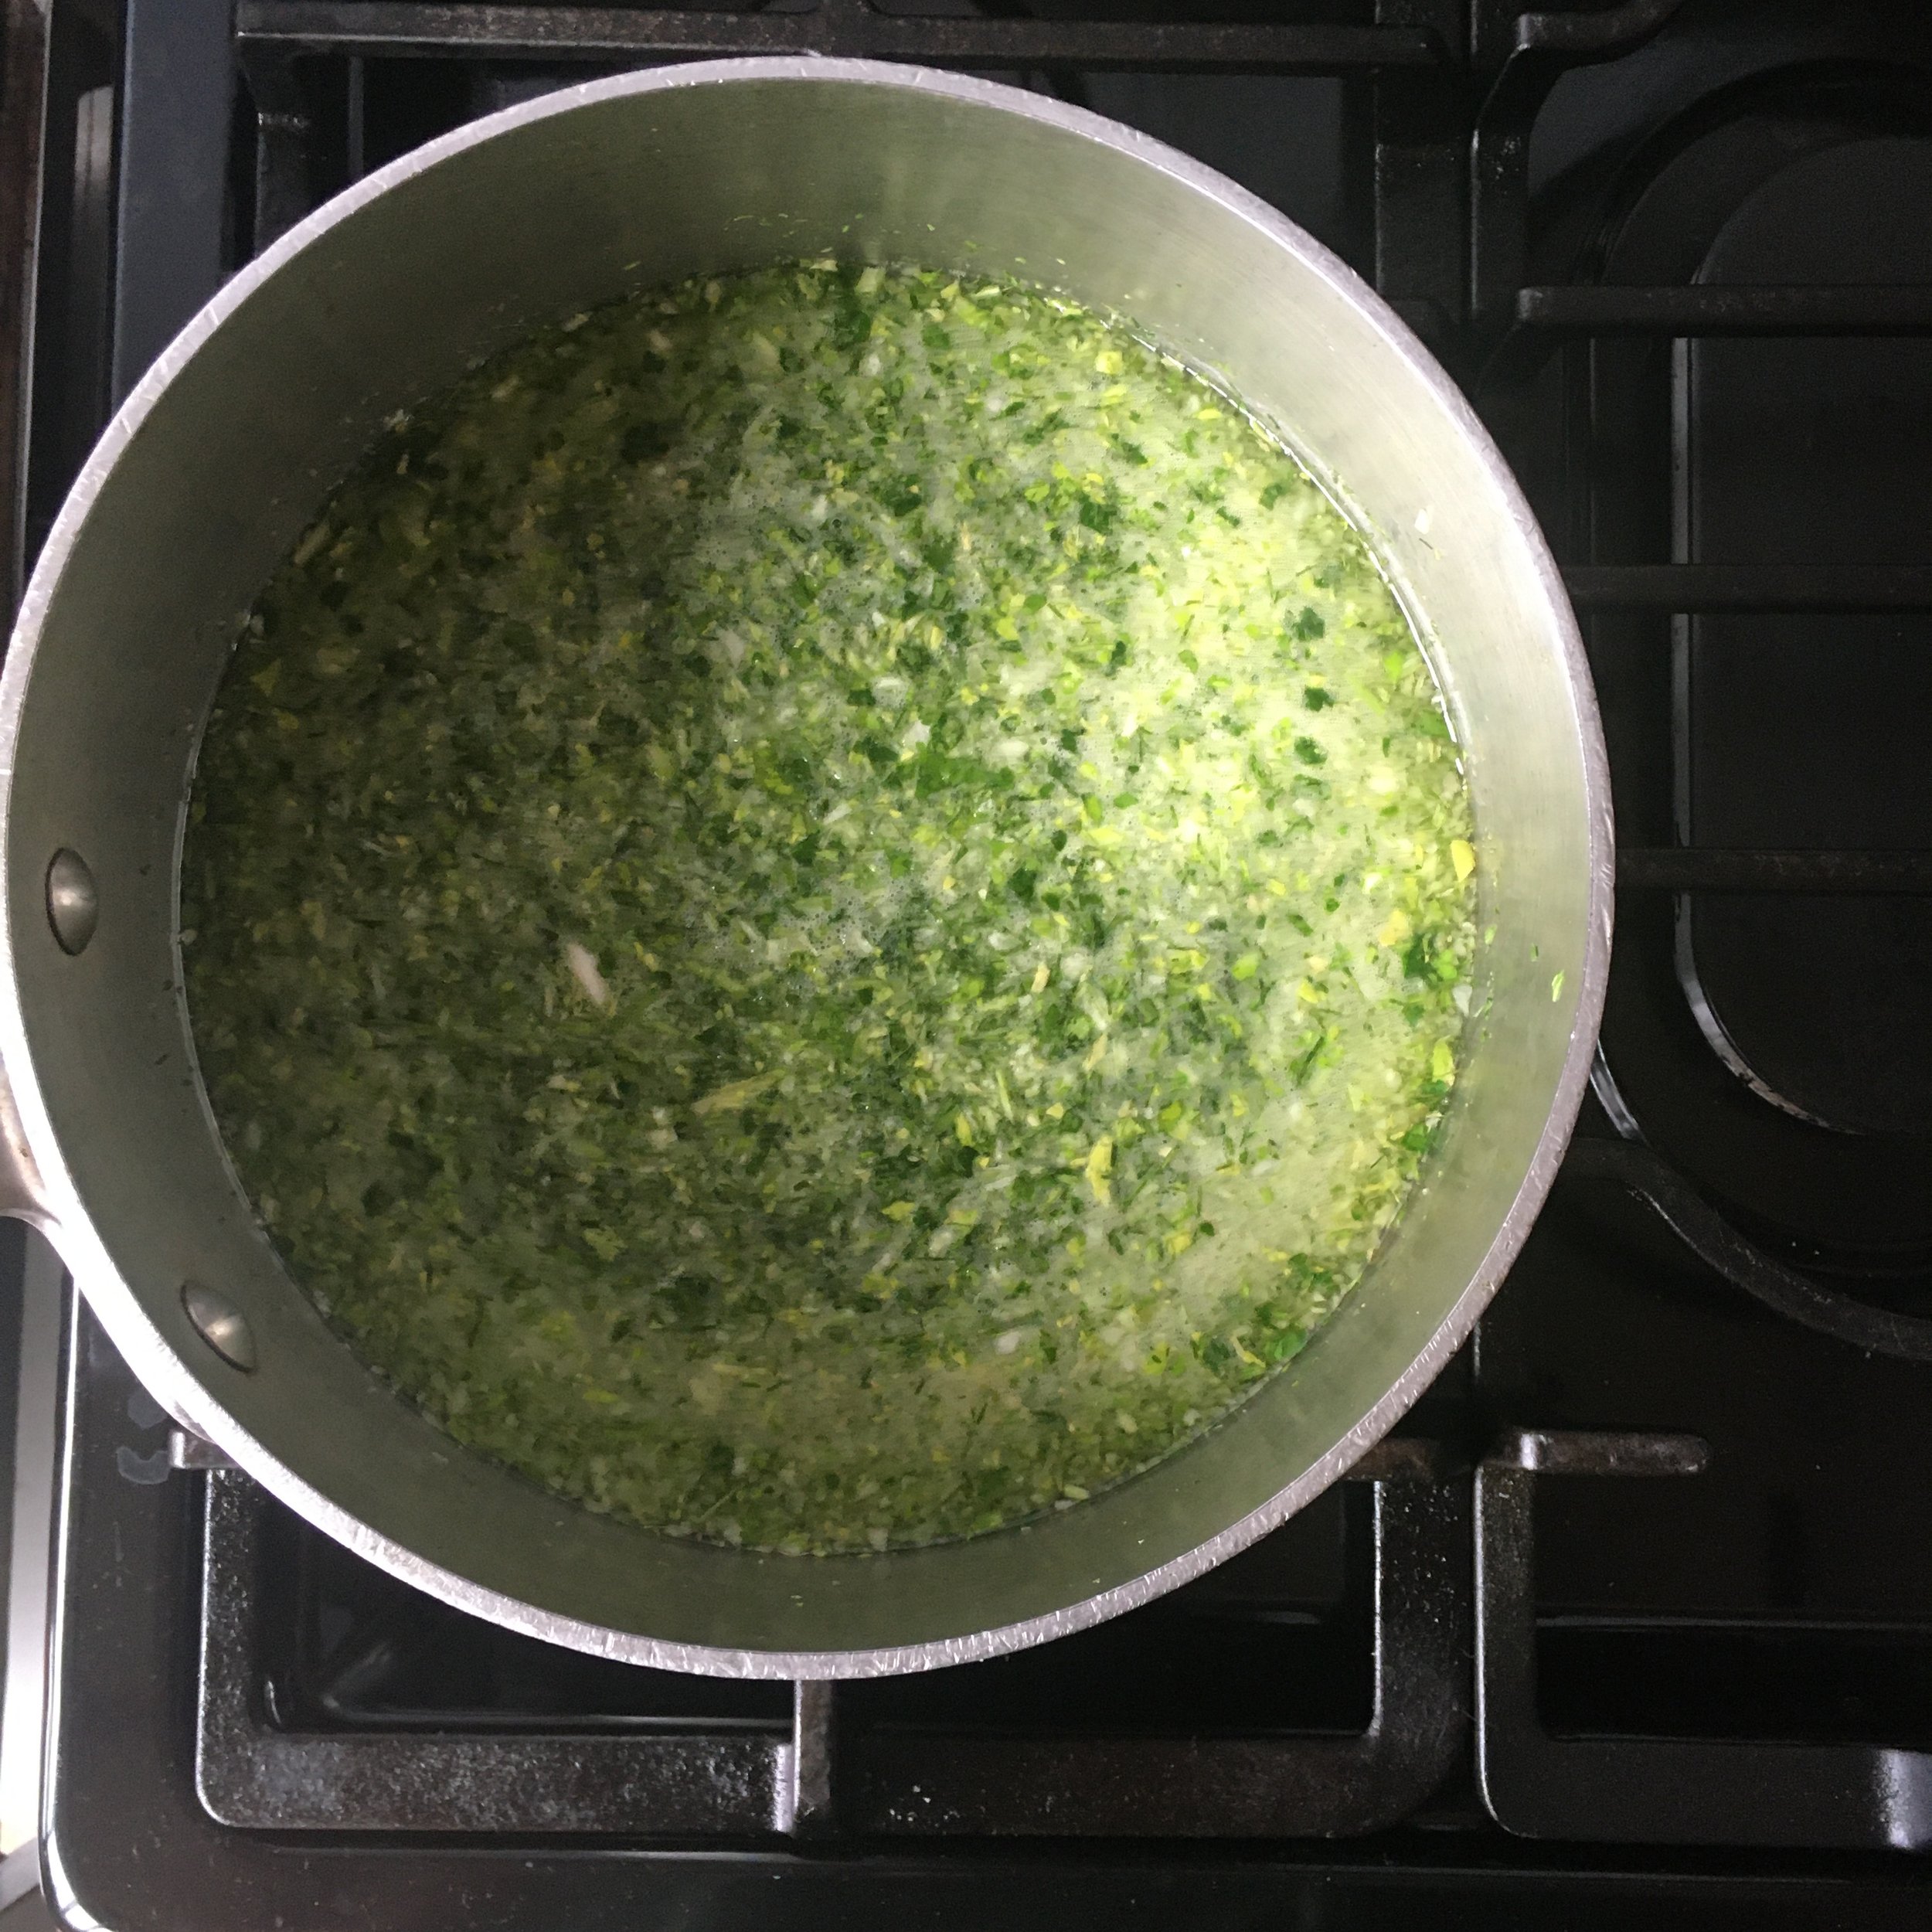
Enter Quick Spring Stock. Spring stock is light, vegetal, and versatile. It is made with scraps and peels, that, because they are minced in the food processor, ready cook in 10 minutes.

You can enrich the broth with grated Parmesan cheese, heavy cream or sour cream, a dollop of pesto, fresh ginger and an egg yolk, and much more. Add to this, quickly blanched English peas, slivered asparagus, and shelled and peeled fava beans. Top with a handful of fresh herbs.

Quick Spring Stock

from The Nimble Cook by Ronna Welsh

My favorite “otherwise, trash“ recipe is for a five-minute stock made from the scraps of green and white vegetables. Alone, it is slightly acidic and tastes a little grassy. But in soups like Roasted Cucumber and Buttermilk Soup (page 128), and Braised Celeriac Soup (page 171) and in risotto with Herb-Infused Butter (page 325), it is elegant. It exposes boxed vegetable stock for the food-colored sham it is.

This is likely the only “stock” you can make in minutes. In fact, if you cook it much beyond the simmer, you risk dulling its bright flavors.

Be precise about preparing your ingredients. A little white pith from the lemon rind or a few extra dark green celery leaves can turn the stock too bitter. If you have more vegetable tops and stems than you need for the stock, save some for Quick Spring-Stock Citronette (page 89).

Makes about 6 cups

1 cup roughly chopped fennel stalks and fronds
½ cup roughly chopped parsley stems
1 cup roughly chopped celery tops, ends, and leaves (not including any dark leaves)
Zest of 1 lemon, removed in strips with a vegetable peeler
1 small onion wedge, chopped
6 cups water
2 tablespoons white wine vinegar
4 garlic cloves, unpeeled but roughly chopped
½ teaspoon coarse kosher salt

Put the fennel, parsley stems, celery, lemon zest, and onion in a food processor. Pulse until finely ground. Transfer to a medium saucepan; do not wash the processor bowl. Add the water and vinegar to the pan and turn the heat to high. Finely chop the garlic in the food processor.

Monitor the stock closely as it nears a simmer. As the water heats up, the herbs that touch the side of the pot will begin to dull in color. When this happens, remove the pot from the heat and immediately strain the stock. Add the garlic while the stock is still very hot. Let cool completely, then strain once more. Add the salt. Store in the refrigerator in a covered container for up to 5 days or freeze for up to 3 months.

Icing Outside the Lines

Ronna Welsh

I made this cake for a recent dinner party at my kitchen studio. It's my mom's famous carrot (with pecans, not walnuts, cinnamon only and no cloves, and caramel filling). The icing is classic cream cheese.

I took its picture, though the top of the cake reveals my struggle with a thick, stiff frosting. I wanted to capture a moment where I was failing to do one thing well, until I saw options for doing it differently. Here, I decided, it was better to decorate the plate, not the cake itself. The number of icing "stars" matched the celebrant's age. To serve, I placed a sparkler on top.

I needed to buck convention to save the cake. Three cheers for icing outside the lines!

Writing Recipes, and a Favorite for Spring

Ronna Welsh

Not everyone likes long recipes, but recipes that teach best are packed with information.

A recipe for minestrone should talk about the role of cheese in enriching broth and adding salt, how when you add bacon affects how much you'll need, when and why to add fresh and dried herbs, how potatoes thicken differently than beans, and why good stock matters. Some dishes take almost as long to explain as they do to make.

But what if not everyone can take in information the same way? Or even the same way on different days?

I've started to play around with font type and size, format, and phrasing in my own recipe writing. When appropriate, I like to write recipes for a cooking class only after I've taught it, and even if I've written the same recipe many times before. This way, I can refer back to shared class moments in a recipe, linking it to a specific place and taste. The instruction is better for it, I think.

But how should published recipes be written, so that not only can the most people follow along, but are even willing to?

What do the recipes you most use look like?
How do your favorite recipes read?

One Favorite Recipe for Spring

While I'm at it, here is a recipe for a quick buttermilk dressing from The Nimble Cook that you should make at the first sight of spring. No matter how you write it, it's delicious.

Buttermilk Dressing

If you’re going to buy buttermilk to make pancakes, you might as well use the extra to make something else.

Here, enriched with sour cream, aromatic with tarragon, and brightened with lemon juice, the buttermilk mounts to a full, tangy dressing that clings beautifully to milder lettuces but also stands up to rich game meat. I pair it with peaches, celery, asparagus, duck, and more.

Makes ½ cup

¼ cup sour cream

Up to ¼ cup buttermilk

Grated zest of 1 lemon

2 tablespoons fresh lemon juice

¾ teaspoon coarse kosher salt

¼ teaspoon freshly ground black pepper

1 tablespoon finely chopped fresh tarragon

Combine the sour cream, 2 tablespoons of the buttermilk, the lemon zest, salt, pepper, and tarragon in a bowl and whisk vigorously until smooth. Add more buttermilk to get the consistency you want. Store, covered, in the refrigerator for up to 1 week.

Super Condiments: Sesame Soy Garlic Sauce

Ronna Welsh

I'm not in the mood to measure while I'm rushing dinner prep, so I rarely make something from scratch that I can't do by rote.

The trouble is, my "rote" repertoire leans heavily on my Mediterranean training, and if overplayed, my lemon, herb, and garlic go-tos turn to dishes I'd rather run from. That's when I turn to Power Condiments.

What is a power condiment?

A power condiment is a dressing, sauce, marinade, paste, etc that can be made in bulk, stored well for a few weeks, and widely deployed. Ideally for me, it includes flavors I am always happy to eat, but don't often fall back on.

In current rotation: a simple Soy-Garlic-Sesame Sauce.

Use this sauce as written to dress pre-salted cucumbers and radish or slices of avocado. Stir in Dijon mustard to brush on salmon or to drizzle on mustard greens. Warm and thicken with egg yolk for seared chicken or buckwheat noodles. Substitute balsamic for rice vinegar to marinate steak. Add miso to marinate tofu. And mayonnaise for sweet potato fries.

Sesame Soy Garlic Sauce

makes about 1 1/2 cups

1/4 cup plus 4 teaspoons sesame oil
1/2 cup soy sauce
3/4 cup rice wine vinegar
6 tablespoons plus 2 teaspoons sugar
16 garlic cloves, minced or grated
2 - 3 tablespoons chili paste

Mix together well. Store in the refrigerator in a covered container for up to 3 weeks.

Poached Strawberries

Ronna Welsh

I poached these strawberries in vinho verde the first time and dry white vermouth the next. I imagine, perhaps increasing the sugar, you could poach them in fresh grapefruit juice, too.

The key step in this process is to continually collect and reduce the poaching syrup after the berries have cooked. You store the berries in this syrup as it cools. Use any extra syrup to flavor lemonade or a glass of sparkling water or wine.

1 pound strawberries, trimmed and halved if extra large
3/4 cup white wine, dry vermouth, or the like
1/2 cup sugar
2 large sprigs of tarragon
1 teaspoon black peppercorns

Place the strawberries in a wide-bottom pot, no more than 2 layers deep. Add the wine, sugar, tarragon, and peppercorns.

Cover and cook at a low simmer, swirling the pan occasionally to make sure the sugar dissolves without burning. Cook until the berries are tender, plump, and have darkened, about 7 minutes. The syrup will have turned beet red.

Place a fine mesh strainer over a bowl or heatproof container. Pour the strawberries into the strainer, then return the poaching liquid to the pot, using a rubber spatula to transfer as much of the liquid back to the pot as you can.

Keep the strainer suspended over the bowl to collect the poaching liquid as the strawberries sit. Keep an eye on the bowl, so you can continually add this liquid back to the pot as it accumulates.

Meanwhile, slowly reduce the strained poaching liquid over low heat until it reduces to a syrup and coats the back of a spoon, 15 - 20 minutes. Turn off the heat, then place both the syrup and strained strawberries back in the bowl. The berries will be submerged.

Let cool to room temperature before storing. Keep in the refrigerator for up to 2 weeks. Serve cold.

Leek and Potato (Broth) Soup

Ronna Welsh

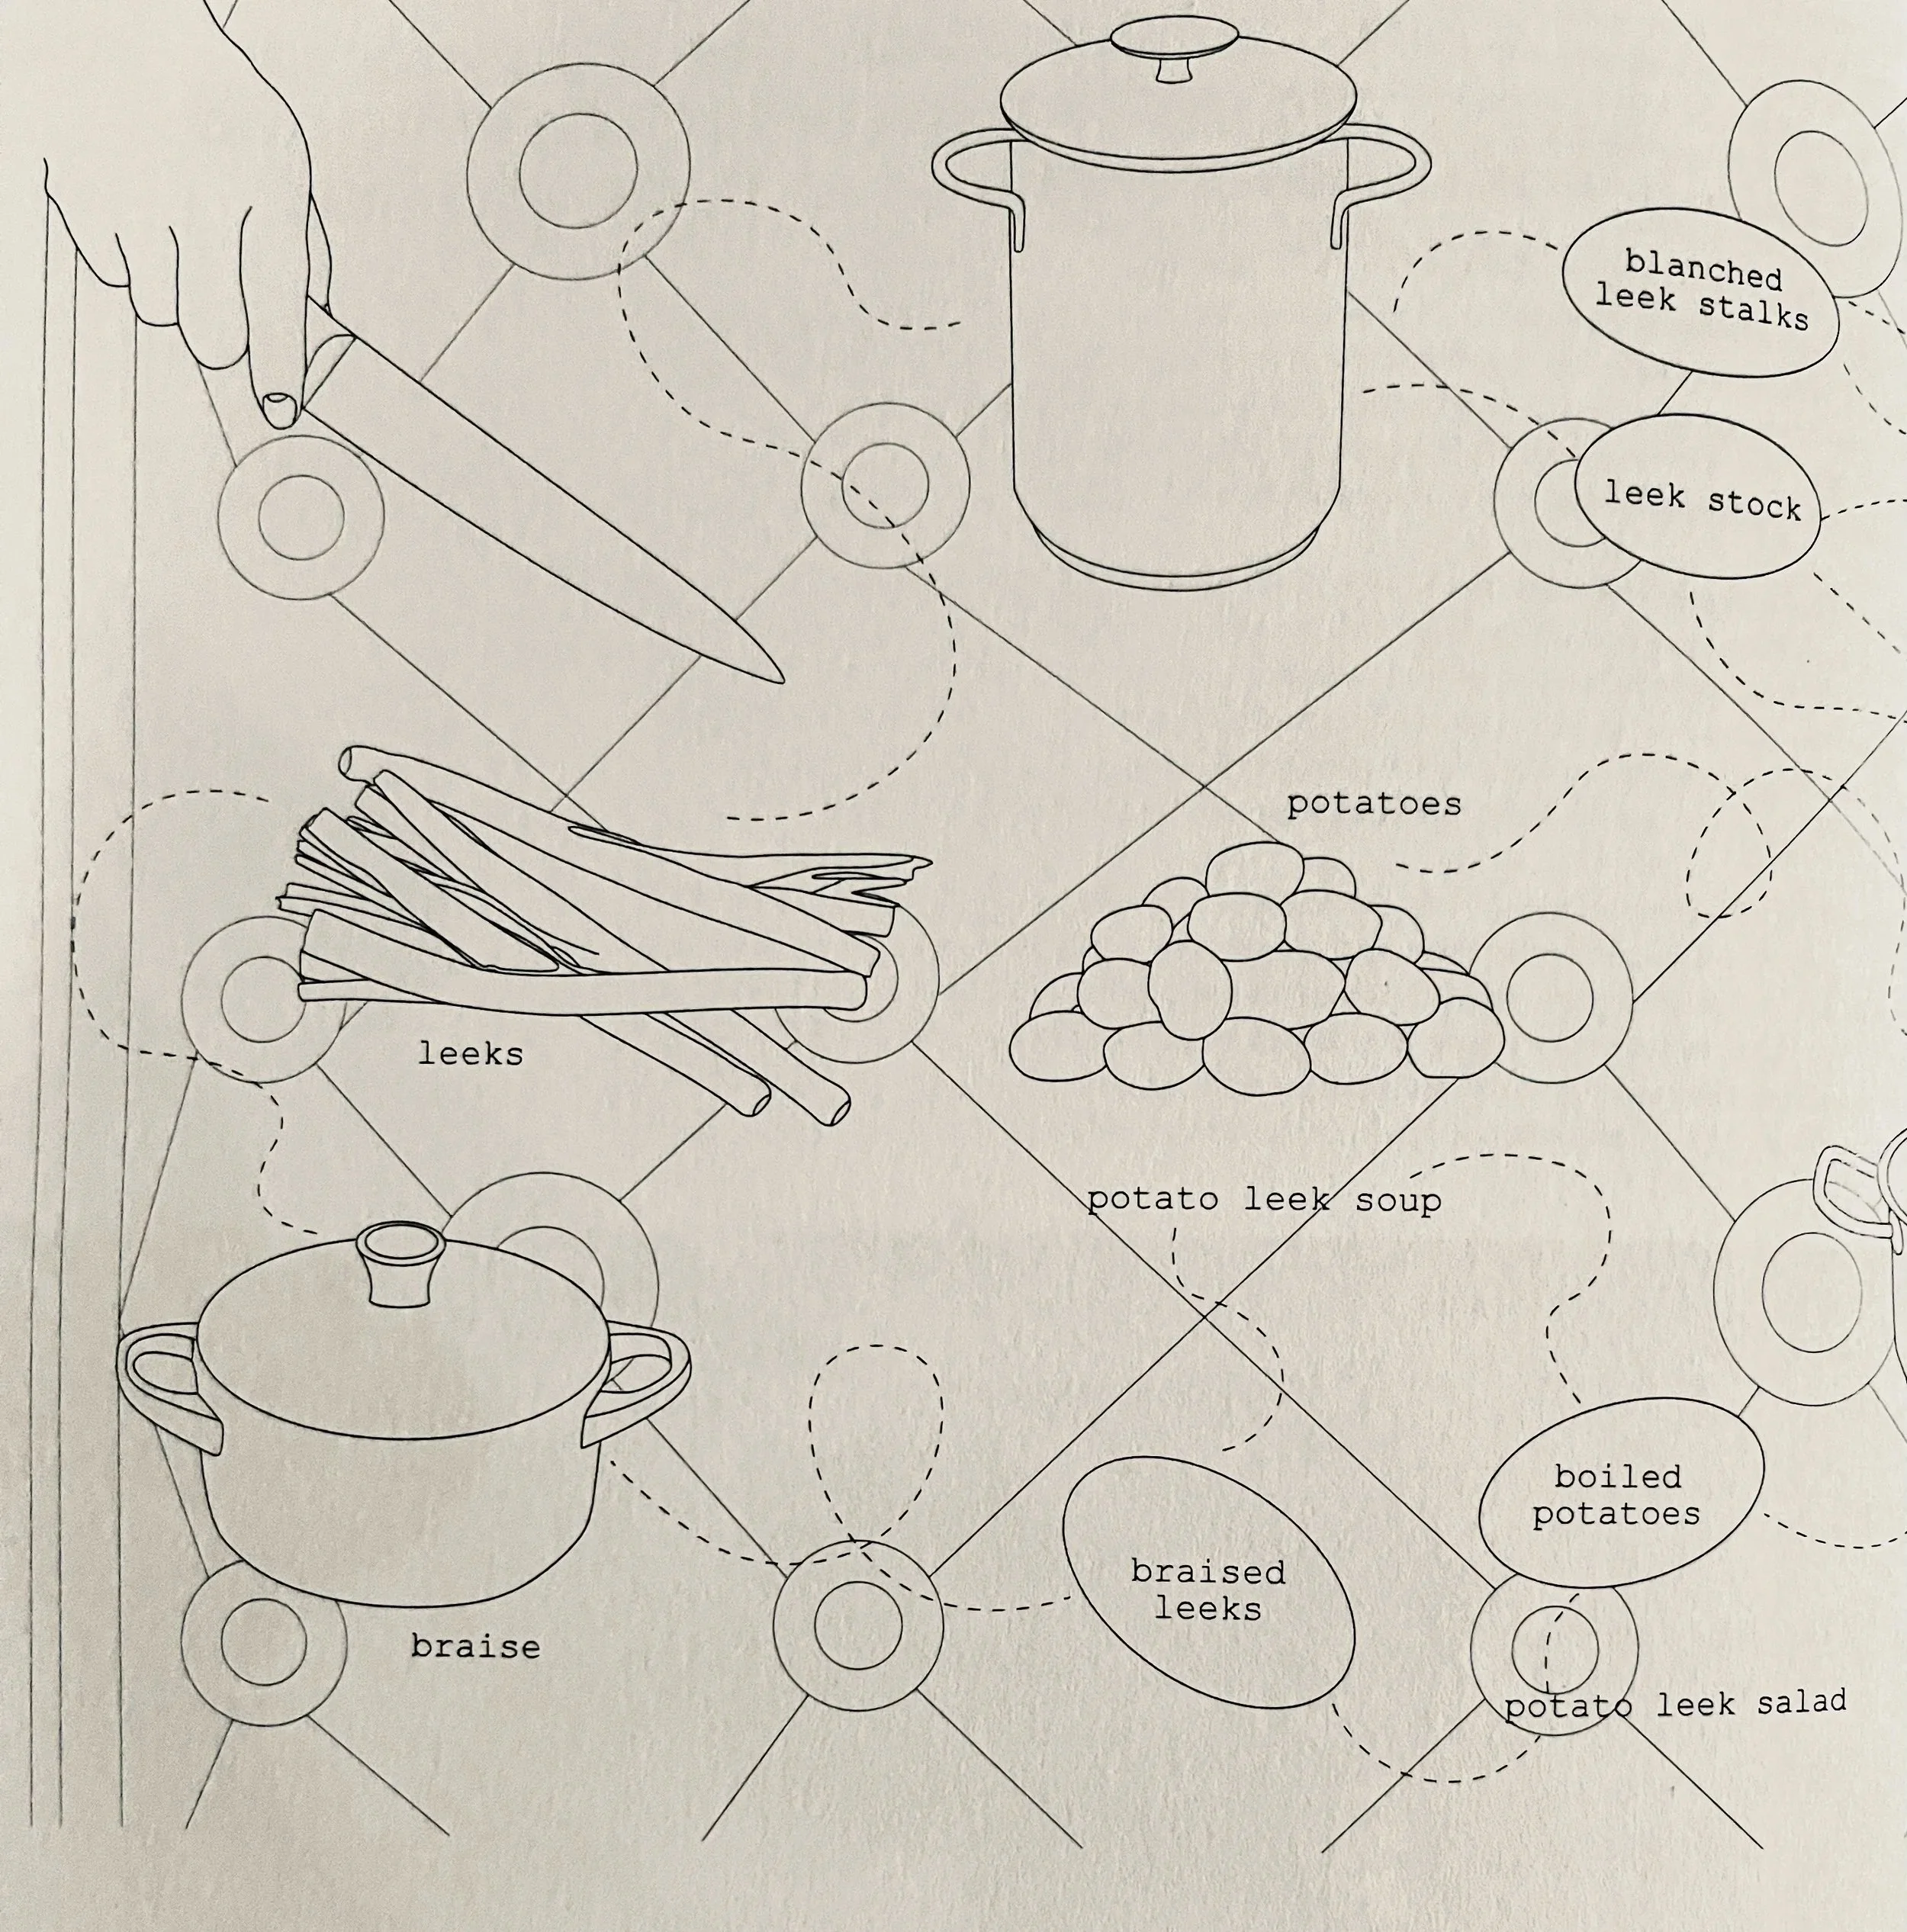
I rely on potato broth to lead me from heavy, starchy winter meals to lighter spring ones. The broth is clean and light, but its flavor makes a dish feel hearty. Its uses are surprisingly plenty, including as the base for soups and risottos.

Watch how to make Braised Leek and Potato (broth) Soup

Potato broth is nothing more than water that peeled potatoes cook in. To make the broth, cook 1 pound of peeled gold potatoes with 1 quart of water and 2 1/2 teaspoons of salt in a covered pot over medium-high heat until tender. With the back of a spoon, smash half a potato into the broth to release its flavor. Let the rest of the potatoes cool in the broth before removing them to store.

You can strain the broth, if you want it clear. Or you may leave the potato bits in it, with the option to puree it smooth. Either way, the broth should be light, not creamy. You can keep it in the refrigerator for up to 5 days or in the freezer it for months.

Spring Turnips with Anchovy Dressing and Walnuts

Ronna Welsh

You can look to the pairing of the ingredients in this dish for ideas for other great dishes—use ras al hanout with walnuts in a chicken salad; toss turnips with whole anchovies and seared greens. Only use the turnip greens if they are crisp and tasty. Ras al hanout is a spice mix from North Africa, often used in Moroccan cuisine. You can try other spices from the reason, if you want.

For each serving

1/4 cup roughly torn baby turnip greens (if fresh)
1 cup thinly sliced baby white turnips
1 tablespoon Anchovy Dressing (see below)
1 tablespoon chopped toasted walnuts
pinch of ras al hanout

If you have turnip greens, toss them with the dressing and walnuts in a bowl. Arrange the turnips on a plate and place the dressed greens on top. If you’re not using the greens, toss the turnips, dressing, and walnuts together. Place on a serving plate. Sprinkle with ras al hanout and serve immediately.

Anchovy Dressing

1 ounce anchovies
4 large garlic cloves
1/4 teaspoon hot red pepper flakes
1 large egg yolk
1/2 cup excellent olive oil
up to 1/4 cup water

Combine the anchovies, garlic, egg yolk, and red pepper flakes in a food processor and blend to combine. With the processor running, add the oil in a slow, thin stream. Add the water, 1 tablespoon at a time, to thin to a smooth, creamy consistency. You may have water left over. Store in a covered container in the refrigerator for up to 2 weeks.

The Nimble Cook, pages 186 and 379

Cooking Kits and Cornmeal Drop Biscuits

Ronna Welsh

Cooking kits make from-scratch cooking convenient.

You can make kits for everything you want to cook. A kit for cookies might include all the dry ingredients that you're supposed to "sift together," so that, at another time, you can indulge an impulse to bake something sweet by jumping past the pesky prep. As one participant in The Nimble Cook Challenge observes, "the bar to completion comes down dramatically for me even by simply getting the dry ingredients measured and mixed."

What will you put in your cooking kit?

Braising Vegetables

Ronna Welsh

My favorite thing about braising is that it is hard to do wrong.

The idea is that you have an ingredient (say, a duck leg), or a bunch of ingredients (duck, carrots, prunes), which you partially submerge in a liquid (stock, wine, melted fat, or even water) well-seasoned with aromatics and spices (bay leaf, salt, garlic), then cover tightly, and cook on low heat for a long time. In meat, braising will ease tendons, render fat, and transform tough muscles into tender meat.

But you can also braise vegetables and winter roots and bulbs are perfect candidates for this slow, moist cooking. Braising softens the firm, starchy flesh of parsnips, fennel, celery root, sunchokes, and potatoes. Once dense, the flesh turns forkable; its flavors, freed.

Perhaps the best thing about braising is its economy of effort: In the act of cooking one item, you end up with two. The braising liquid–whether of duck or celery root–can strike out on its own and find use in other dishes.

Below is the recipe, excerpted from The Nimble Cook:


Celeriac Braised in White Wine with Coriander

2 ½ pounds trimmed and peeled celery root (up to 4 pounds whole)*
3 cups water
1/3 cup white wine
5 sprigs thyme or 1 or 2 sprigs sage
1 bay leaf
1 ½ tablespoons coarse kosher salt
1 tablespoon excellent olive oil
3 cloves garlic, sliced thinly
½ teaspoon coriander seeds, roughly crushed

Preheat oven to 350 F.

Cut celery root into ½-inch thick slices (half moons are okay, too). Place snugly in a Dutch oven**, no more than two layers deep. Add the water, wine, thyme, bay leaf, salt, olive oil, garlic, coriander, and olive oil. The celery root won't be fully submerged. That's okay.

Cover tightly and bring to a quick boil over high heat, then place in the oven.

Braise until the celeriac is soft enough to be pierced easily with a fork, 30 to 45 minutes,

Cool in braising liquid. As it cools, taste for salt and, if needed, add it while still warm. Serve immediately or store in the braising liquid for up to 5 days. Pictured, I've topped with fresh tomatillo salsa and walnuts.

*How much usable celeriac you get varies by what gets trimmed away, but the only possible way to write an accurate recipe is with the post-prepped amount. Guestimates are okay if you don't have a kitchen scale!
**If you don't have a Dutch oven, place the celeriac in a roasting pan. Bring the remaining ingredients to a boil in a separate pot before adding to the celeriac. Cover very tightly with foil and allow a little extra time to cook.

For a New Year: Wonder and Hope in a Humble Cassoulet

Ronna Welsh

​A friend told me she made quiche the other day, and that she liked it, but it needed more salt.

I told her that it often seems impossible to taste raw ingredients at each step they're being cooked, especially eggs, meat, poultry, and seafood, but that she should always pre-sample what she is preparing. That could mean cooking up a bit of the quiche batter to make sure it tastes how she wants,

But even if we do taste diligently as we go, there are some dishes that make seasoning not entirely knowable. Pies, soufflés, ice creams, and terrines are examples of things we put together with care, but ultimately finish off with faith. These are either dishes that are served whole and intact, making last-minute fixing impossible, or that transform enough in the final finish that tasting beforehand is at best approximate.

In a way, it is the uncontrollable which keeps cooking exciting, even for the most experienced cooks. I have made cassoulet around Christmas for years. It is a great way for me to use up cuts of meat left over from a month of catering holiday parties. My cassoulet differs from year to year, depending on what I have around. One year, it was duck and white beans. Another year, I added pork, three-ways.

Cassoulet involves preparing all ingredients individually (beans, confit, sausage) to then bake off all together, slowly, at the end. The project easily becomes a three-day affair with a mess of pots. And even with all that effort and attention, I get no guarantee how the cassoulet will taste once the extra stock evaporates, the white beans soften further, the sausage cooks through, and the bread crumb crust forms. It’s a volley each time between seeking perfection and honoring humility, forsaking total control, for the gift of surprise.

A great cassoulet tastes like a thing unto itself, more than even a perfect sum of its parts. It has an almost indescribable rightness, a true clarity of form, a transformation of ingredients beyond measure and possibly even expectation.

Delicious reward in the unknowable. A little wisdom to start the new year.

From my kitchen to yours, wishing you the very best.

Move over popcorn! Crispy rice snack.

Ronna Welsh

Rice survives the turn to “day old,” but barely. Cold and starchy, it begs to be fried; its molded form resists rejuvenation.

Fried rice must have been born in a moment like this, about 1500 years ago, and it continues to sustain us in a pinch. In Purple Kale’s kitchen, fried rice becomes a standard lunch for using leftover recipe-test ingredients from the fridge. One day, reconsidering what leftover rice can do, I came up with another option, what I think might be the world’s next best snack.

This Spicy, Crisped Rice is salty and spicy, rich but without fat, crunchy but clean. Delicious on its own. Better with beer. Move over popcorn, meet my new addiction.

Spicy Crisped Rice is a reason to make sure you have extra cooked rice on hand, whether you steam the whole bag you bought at the store or order extra with take out.

Spicy Crisped (leftover) Rice

2 cups day old rice
2 tablespoons fish sauce
1 tablespoon sriracha
1 or 2 tablespoons sesame seeds

Preheat oven 400 degrees F.

Spread rice onto baking tray in an even layer. Sprinkle with fish sauce, then sriracha. Sprinkle sesame seeds on top. You can mix the fish sauce and sriracha together first, if you like, but I prefer less uniform seasoning.

Place in the oven for 10 minutes. With a rubber spatula, stir the rice to unstick any from the tray and distribute evenly. Place the tray back in the oven and bake until the rice is completely dry and crisp, about 10 minutes more. Cool completely on the tray and store in an airtight container.

The Line Up

Ronna Welsh

meal prep vegetables cooking

The Line Up. A simple first step to cooking off-the-cuff. ⁠

Pull what ingredients you have from your refrigerator drawers and pantry shelves. Arrange them on the counter, for consideration. ⁠

If I have sufficient food to fill hungry stomachs, I assume, at least for the moment, that I can make a meal.⁠

I may not figure out how to use what I line up all together on one plate, not should I try. My goal is to eat each ingredient at its peak and not let any of it go to waste. ⁠

I might start by shredding the radicchio, peeling the carrots, and dicing the tomatoes. Or I could roast wedges of radicchio and of tomato, and coarsely chop the herbs. Each set of preparations leads me down a different path to a yet-to-be-determined dish. ⁠

What would be your next move?⁠ #thenimblecook

 Almond Orange Tart 

Ronna Welsh

Screen Shot 2020-06-29 at 1.45.40 PM.png


This almond orange tart wasn't finished until the sun went down, along with all camera-kind natural light. On a cream colored plate, the tart looks disconcertingly like an egg, an accurate association (curd being made from eggs), though terrible for temptation. But once you know more about the tart, you'll forgive it's failed screen test. ⁠

Making orange curd isn't hard, but requires an important, time-consuming initial step: Before cooking the fresh juice with egg yolks and sugar, you'll want to reduce it (slowly, so it doesn't caramelize) to a candy-sweet concentrate. To the finished curd, you'll add lemon juice and a pinch of salt. The right balance tastes popsicle perfect. ⁠

There is a lightly sweetened, quick-to-mix sour cream layer hidden underneath the curd, spread thickly onto a pre-baked almond crust. The combination is superb, and cues me to other ways of using these same components, including parfaits with crumbled almond cookies (store-bought, sure!) and roasted fruit. ⁠

Even ambitious desserts don't need to be one-shot deals. ⁠

⁠Side note: My local market sells extra fresh-squeezed orange juice frozen, at a reduced price. When inclined, I'll buy a quart to cook down. The concentrated juice stores compactly, so future curds (not to mention, vinaigrettes, sorbets, and mimosas) come together quickly.⁠ 🍊⁠

#thenimblecook #purplekalekitchenworks